前言
最近想玩下[软路由],了解了下各种软路由系统之后选择了 openwrt,这个是基于 linux 的,而且可以安装 docker 之类的各种有用的插件,但是我手头暂时没有机器可以做软路由,但由于是但网口机器,就做个旁路由,先使用 PVE 虚拟一台研究,openwrt 占用的资源很少 1G 内存就完全够了,这篇文章的前提是 pve 已经安装好了
1.安装[openwrt]
openwrt 的镜像是 img 格式的,但是 pve 并不支持 img,我们需要将 img 转成 qcow 的格式
我使用了 img2kvm 脚本来进行转换
./img2kvm /dev/pve/openwrt.img 100 /var/lib/vz/template/iso/vm-100-disk-1命令解释:openwrt.img 后面的 100 对应的是虚拟机编号 id 最后的 vm-100-disk-1 中的 100 也是一样的,disk-1 的 1 代表这个虚拟机第一个盘
- 这里说明一下 /dev/pve 这是上传镜像之后会在这里目录里面 (对应 pve 默认的 local 存储池)
- /var/lib/vz/template/iso 这个路径是 pve 虚拟机的磁盘默认存储目录 (对应 pve 默认的 local-lvm 存储池)
- /var/lib/vz/template/iso 里面创建的符合 pve 磁盘命名规范的可以识别到
登录 pve,创建一个 openwrt 虚拟机,先不使用任何介质引导
创建完成之后点虚拟机,点 Hardware 也就是硬件,看到有个为分配的磁盘
点击添加 Add 直接确定,然后去其他 Option 其他中选择 Boot Order 启动引导项中
将 local-lvm:vm-101-disk-1,iothread=1,size=520M 这个盘移动到第一位,并且勾选启用
开启虚拟机即可
我们在创建 openwrt 的时候给了 10G 的磁盘,但是我们使用了 openwrt 的镜像进行引导,实际上 openwrt 并没有安装在 10G 的盘,我们可以直接克隆下
root@OpenWrt:~# fdisk -l
Disk /dev/loop0: 104.44 MiB, 109510656 bytes, 213888 sectors
Units: sectors of 1 * 512 = 512 bytes
Sector size (logical/physical): 512 bytes / 512 bytes
I/O size (minimum/optimal): 512 bytes / 512 bytes

Disk /dev/sdb: 520 MiB, 545259520 bytes, 1064960 sectors
Disk model: QEMU HARDDISK
Units: sectors of 1 * 512 = 512 bytes
Sector size (logical/physical): 512 bytes / 512 bytes
I/O size (minimum/optimal): 512 bytes / 512 bytes
Disklabel type: dos
Disk identifier: 0x968806c2

Device     Boot Start     End Sectors  Size Id Type
/dev/sdb1  *      512   33279   32768   16M 83 Linux
/dev/sdb2       33792 1057791 1024000  500M 83 Linux

Disk /dev/sda: 10 GiB, 10737418240 bytes, 20971520 sectors
Disk model: QEMU HARDDISK
Units: sectors of 1 * 512 = 512 bytes
Sector size (logical/physical): 512 bytes / 512 bytes
I/O size (minimum/optimal): 512 bytes / 512 bytes
可以看到 /dev/sda 是我们最开始给的 10G 盘
/deb/sdb 就是我们引导的盘
使用 dd 命令克隆 sdb 到 sda
dd if=/dev/sdb of=/dev/sda在 pve 中虚拟机引导项中取消最开始的引导,将 10g 的盘放到第一项
即可通过 10g 的盘引导进入 openwrt 系统
2.配置 OpenWRT
编辑网络配置 vim /etc/config/network
config interface 'loopback'
        option ifname 'lo'
        option proto 'static'
        option ipaddr '127.0.0.1'
        option netmask '255.0.0.0'

config interface 'lan'
        option ifname 'eth0'
        option proto 'static'
        option netmask '255.255.255.0'
        option delegate '0'
        option gateway '192.168.3.1'
        option dns '192.168.3.1'
        option ipaddr '192.168.3.100'

config interface 'wan'
        option ifname 'eth1'
        option proto 'dhcp'
        option metric '64'
        option delegate '0'

config interface 'wan6'
        option proto 'dhcpv6'
        option ifname 'eth1'
        option delegate '0'
        option reqaddress 'none'
        option reqprefix 'no'

config interface 'vpn0'
        option ifname 'tun0'
        option proto 'none'

config interface 'ipsec_server'
        option ifname 'ipsec0'
        option device 'ipsec0'
        option proto 'static'
        option ipaddr '192.168.100.1'
        option netmask '255.255.255.0'

config interface 'docker'
        option ifname 'docker0'
        option proto 'none'
        option auto '0'

config device
        option type 'bridge'
        option name 'docker0'

config interface 'lan2'
        option proto 'static'
        option ifname 'br-lan.22'
由于是旁路由我们只用到 lan 口
我这里把 lan 口网卡 配置 ip 为 192.168.3.100 这个是 openwrt 的 ip 地址了
这个需要按照家庭中网络的网段来配置,也就是你 openwrt 接入到了那个网段下
浏览器输入 192.168.3.100 即可进入 openwrt 管理界面
账号默认为:root
密码默认为: password
进入之后点击左侧网络,接口
修改 lan 接口 也是 eth0
网关指向主路由的网关 192.168.3.1
使用自定义的 DNS 服务器 192.168.3.1
我这边主路由的是 192.168.3.1 这里根据自己的环境来配置
DHCP 忽略此接口,因为主路由就有 dhcp 了如果在加一个 dhcp 的话很容易出问题
高级设置基本不变,用 ipv6 就勾选使用内置的 IPv6 管理
物理设置去掉桥接接口 ,接口选 以太网适配器: "eth0" (lan)
防火墙设置不变
然后点网络,防火墙 将 lan 口
| IP 动态伪装 | MSS 钳制 |
|---|
全部勾选
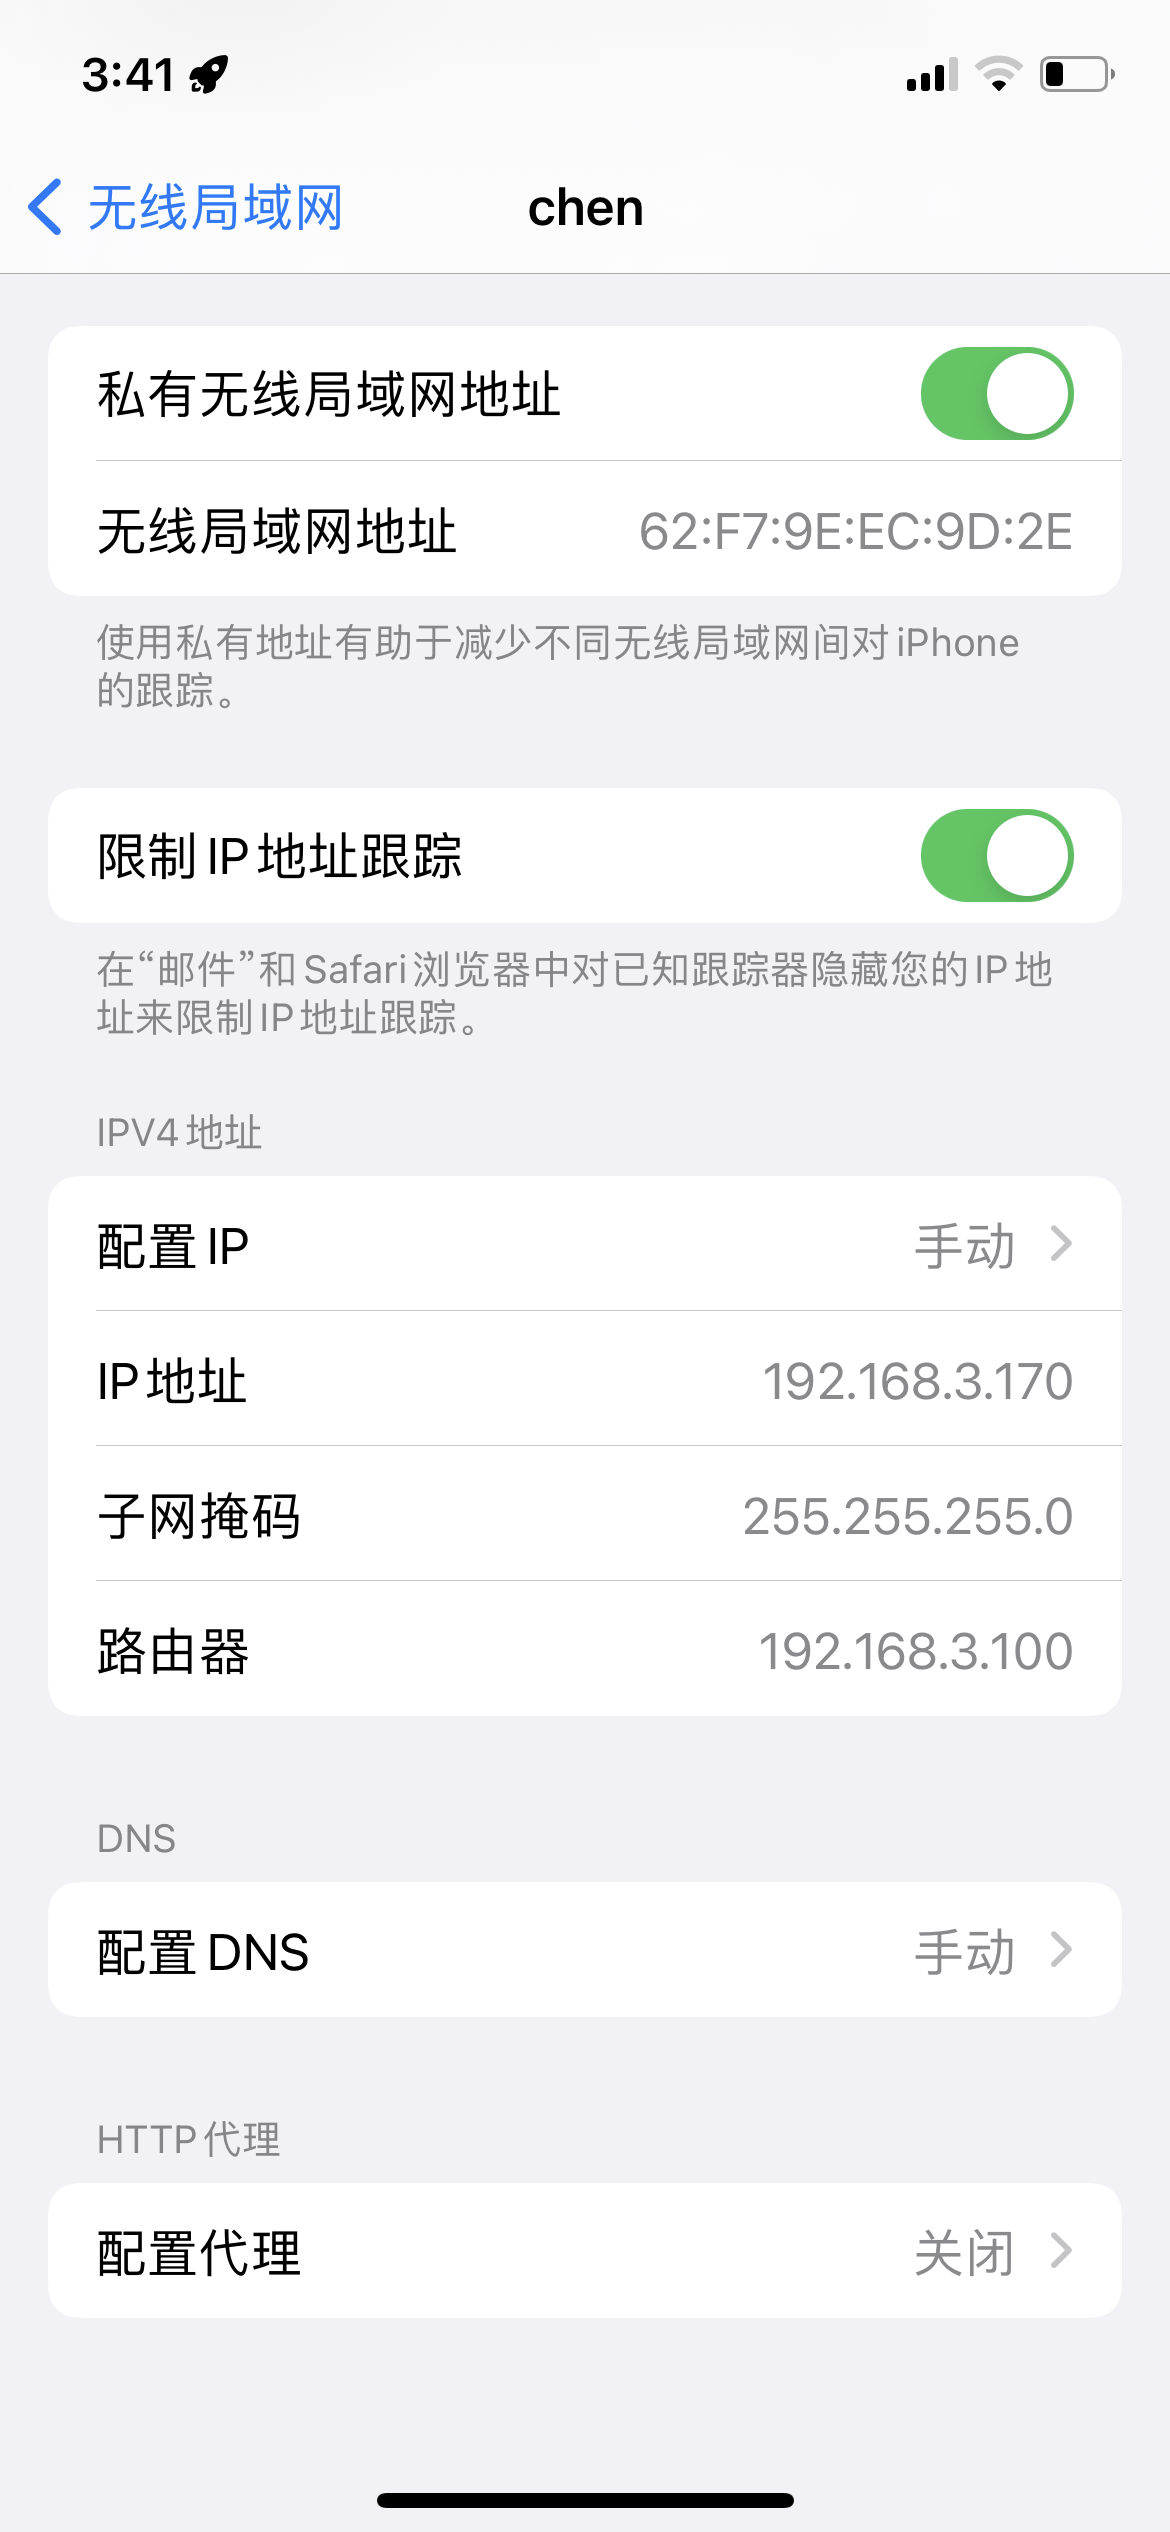
将设备的网关指向软路由即可使用软路由上网


Comments NOTHING